
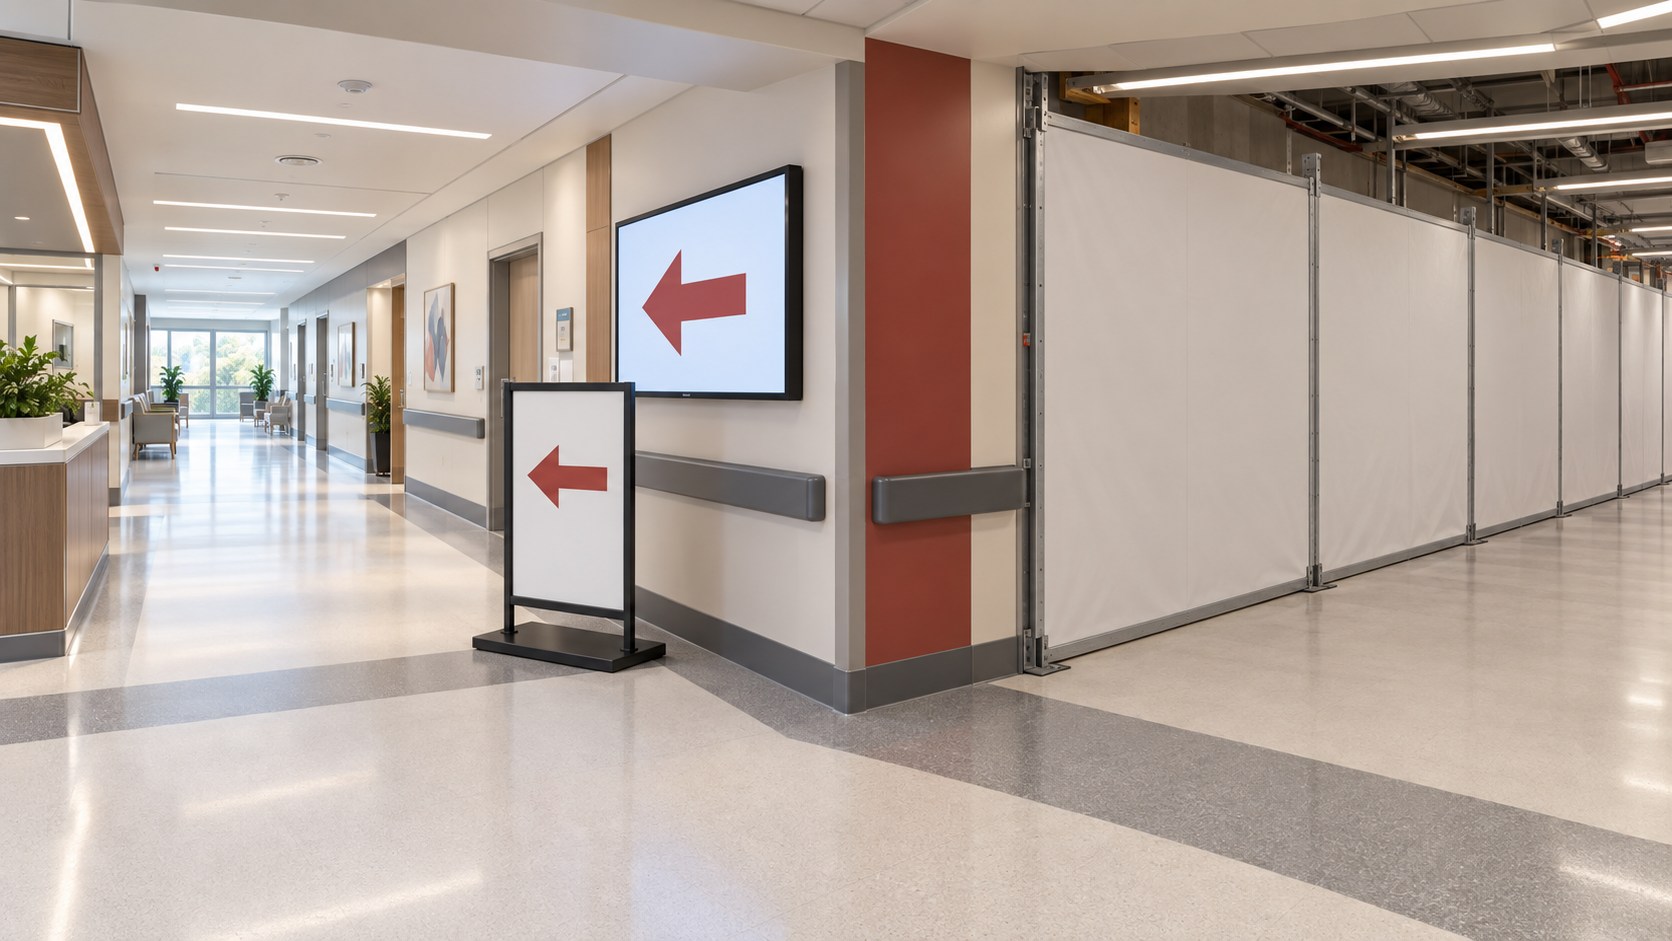
Let’s say your hospital is in renovation and construction closes the east entrance for two weeks. The lobby screen points visitors toward the west entrance, but appointment directions still name the east parking deck. A temporary sign sends people to an elevator that does not serve the clinic’s floor.
Each instruction may have been correct at a different point in the project. Together, they give someone arriving for an appointment no dependable route. This is frustrating and not the experienced you want for your patients and guests.
Hospital digital wayfinding during construction requires coordinated updates across screens, printed signs and staff instructions. The work begins with an approved route and continues until every outdated direction has been replaced or removed.
Key Takeaways
- Use one approved route-change record for every affected channel.
- Verify the journey from arrival to destination with the responsible facilities and accessibility staff.
- Give temporary directions an effective time, an owner and a review or expiry date.
- Check the physical route and displayed content after each construction-phase change.
Follow One Arrival All the Way Through
Choose a destination affected by the work and trace the information a visitor receives before arrival, at parking, at the entrance, inside the building and near the destination.
Include appointment instructions, website directions, telephone scripts, security-desk guidance, printed notices and digital displays where the organization uses them. The signage content-management system controls only part of that list.
At each decision point, record what the visitor needs to know next. A general message about construction may explain the inconvenience without telling someone which entrance remains open. Put the usable direction at the point where the choice occurs.
Have the clinical department confirm its public-facing name. A construction drawing may use an internal department code that visitors have never seen.
Create the Route-Change Record
Assign a change identifier and name the facilities owner who approves the physical route. Record the destination, affected entrance, approved alternative, start time, expected end date and the conditions that could change that date.
Include the approved accessible route, relevant opening hours and the location of assistance. Facilities and accessibility staff should resolve route suitability before content production. The screen designer should not have to infer whether an elevator or entrance is appropriate.
Separate the expected construction finish from the approval to restore normal directions. Work may finish before a corridor is returned to service. Keep the temporary instruction active only while it remains accurate, with review dates that account for schedule uncertainty.
Translate the Change for Each Channel
The approved facts should remain consistent even when the wording changes. A screen can show a short directional message. Appointment instructions may need parking details and an explanation of the entrance change. Reception staff need enough information to answer follow-up questions.
Avoid shrinking a long project announcement to fit a display. Write the action a visitor needs, using the hospital’s approved location names. Pair arrows with destination wording, and review any language versions through the organization’s translation process.
Assign a person to update each channel and another appropriate person to verify the result. A content approval confirms the message; verification confirms that it reached the intended place at the intended time.
Use a Route-Change Matrix
The following matrix uses fictional locations and messages to demonstrate the record. Local staff must approve the actual route and wording.
| Location | Message | Channel | Content Owner | Effective Time | Expiry or Review |
|---|---|---|---|---|---|
| Appointment instructions | Clinic access is through West Entrance during work | Reminder and web directions | Patient communications | Before affected visits | At each phase change |
| East arrival point | East Entrance closed; follow approved route to West Entrance | Temporary sign | Facilities | When closure begins | Check each operating day |
| West lobby | Imaging reception via approved elevator route | Digital display | Signage publisher | With route activation | Review against facilities update |
| Reception desk | Current route and assistance instructions | Staff briefing | Reception supervisor | Before first affected shift | At each handoff |
| Elevator lobby | Imaging reception on the approved destination floor | Screen and temporary notice | Facilities and signage | With route activation | Remove when replacement is verified |
Add a publication confirmation and a walkthrough result to the working matrix. Record the exact screen or sign location so an update is not applied to the wrong display group.
Walk the Route Without Supplying the Answers
Ask someone unfamiliar with the affected area to follow the proposed directions while the responsible team observes. Begin where an arriving visitor would begin. Do not start at the lobby if the parking-to-entrance segment has changed.
Look for a missing instruction before a turn, an arrow that could refer to two corridors, a destination name that changes midway and a sign hidden by a door or queue. Check the route from relevant seated and standing viewpoints with accessibility staff.
Review readability under actual lighting and at the distance where a decision must be made. If a display rotates among several messages, observe whether the direction is available when someone needs it. A critical temporary route may require persistent placement or a separate approved sign.
Log confusion as a finding about the directions. Update the content or placement, then repeat the affected part of the walk.
Plan for a Display That Is Unavailable
Decide how the hospital will provide accurate directions if a player loses connectivity, a screen goes dark or a scheduled update does not reach it. Ask the signage team to confirm the actual system’s offline and scheduling behavior rather than assuming cached content will remain appropriate.
An approved temporary physical sign and a current reception briefing may provide a workable fallback. Assign responsibility for putting it in place and checking it. Avoid positioning signs where they narrow the usable path.
Keep ordinary wayfinding coordinated with the hospital’s established life-safety signage and route-approval process. This article addresses content coordination; the appropriate facility authorities determine the routes and requirements.
Close the Change as Carefully as It Opened
When facilities approves the next phase or reopening, use the matrix to update every channel. Remove old notices, replace temporary screen content and brief staff on the change. Check future scheduled messages as well as what is displayed now.
Use an expiry function where appropriate, but decide what appears afterward. Automatic removal can create an information gap if construction runs late or the normal route has changed permanently.
Retain the approved wording, publication record and final walkthrough result in the project record. Those details help the next phase begin with a known process and a complete channel list.
Related Reading
Where VIcom Fits
Ask VIcom’s healthcare team to review how your signage system handles route changes, publishing, scheduled content and fallback arrangements. Bring one upcoming construction phase and the channels it affects so the discussion can follow a real operating need.
Connect with VIcom by filling out the form below.