
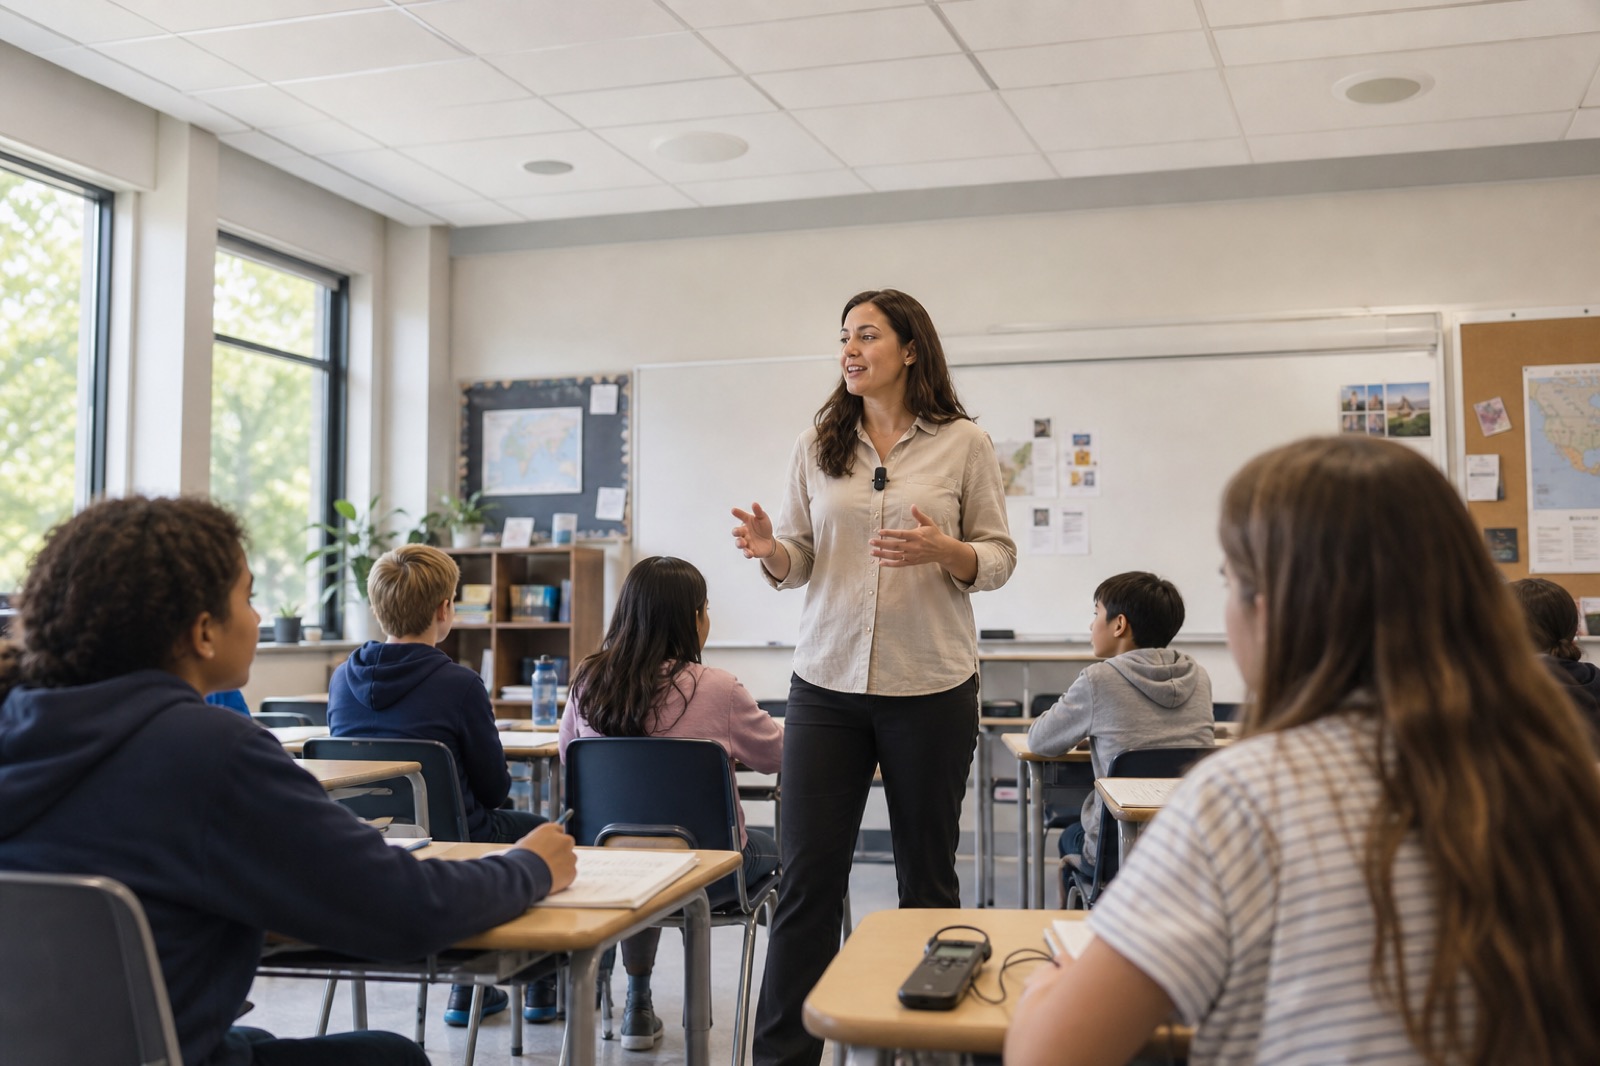
Classroom Audio for Clear, Accessible Instruction
Raising the volume does not always make speech easier to understand. Reverberation, distance, background noise, poor microphone placement, and uneven speaker coverage can force students to decode every sentence, even when the teacher sounds loud.
Clear classroom audio is essential for both instruction and accessibility.
Students with hearing loss may need specific assistive technology or other aids. Clear speech also helps multilingual learners, younger students, students with attention or auditory processing challenges, and anyone seated far from the teacher.
Schools must address individual needs through the proper legal and educational processes. This article offers operational guidance. It does not replace an IEP, Section 504 plan, code review, or accessibility assessment.
Measure the Listening Environment
Walk through the room while it operates under normal conditions. Listen from the back corners, beside HVAC equipment, near noisy corridors, and beneath balconies or low ceilings.
Test the room with students present, or with a similar number of people, because occupancy changes how sound behaves.
Assess:
- Noise from HVAC systems, projectors, computers, adjacent rooms, corridors, and outdoors
- Reverberation that blurs consonants
- The distance and direction between teachers and students
- Coverage across all seats
- Microphone pickup for both teachers and students
- Audio from videos, remote participants, and emergency announcements
- Furniture and finishes that reflect or absorb sound
Use qualified acoustic testing when needed. A decibel reading measures volume, but it does not show whether students can understand speech.
Improve the Source Before Raising the Volume
Place the microphone close enough to capture the teacher’s voice without excessive room noise. Watch for clothing noise, handling noise, interference, and signal dropouts.
Give teachers a comfortable wearable or handheld microphone with simple mute and charging controls. Keep a backup ready.
Plan for student speech as well. A teacher’s microphone will not help a remote participant, recording system, or classmate hear a student speaking from the back of the room.
The right approach will depend on the room and teaching style. Options may include:
- Pass-around microphones
- Ceiling microphone arrays
- Boundary microphones
- Repeat-and-restate procedures
Set microphone gain to prevent feedback and limit unwanted room noise. Place loudspeakers to provide even, natural coverage instead of sending high volume from the front wall.
Reduce Noise and Reverberation
Audio equipment cannot fully correct a room with loud mechanical systems or excessive reverberation.
Work with facilities staff to address:
- HVAC noise
- Door seals
- Movable partitions
- Ceiling and wall treatments
- Noise from projectors and other equipment
- Sound leaking from nearby spaces
Start with changes that improve listening throughout the room.
Test every common furniture layout in flexible spaces. Movable partitions can create sound leakage and reflections. A system tuned for lectures may perform poorly during group work.
Integrate Assistive Listening Systems
An assistive listening system needs more than a transmitter and a set of receivers. A complete system may require:
- A clean audio feed
- Proper signal coverage
- Compatible receivers
- Neck loops or other coupling options
- Charged batteries or charging stations
- Safe storage and cleaning procedures
- Clear signage
- Trained staff
The U.S. Access Board’s assistive listening systems research offers useful technical guidance. Applicable codes and each student’s approved accommodations determine the specific requirements.
Test assistive listening receivers with:
- Teacher speech
- Student questions
- Videos and other program audio
- Remote participants
Confirm that the system does not carry private conversations or sound from nearby rooms. Students should also have a simple and discreet way to request and receive a device.
Support Hybrid Learning
Remote learners need to hear the teacher, students, and shared media without echo. Students in the room must also hear remote participants at a clear and natural level.
Test cameras and microphones together. The remote audience should be able to identify who is speaking and follow the discussion.
Captions help many learners, but they depend on a clear audio source. They may not meet every accommodation need. Test caption accuracy with course terms, technical language, and student names. Provide another form of access when automated captions fall short.
Make Daily Operation Simple
At the start of class, a teacher should be able to:
- Pick up a charged microphone
- Confirm that it works
- Select the correct source
- Begin teaching
At the end of class, the equipment should return to a known state and begin charging.
Keep controls consistent across classrooms. Use plain labels and simple instructions.
Create a short backup process for common problems, including:
- Dead batteries
- Wireless interference
- A failed loudspeaker zone
- A microphone that will not connect
- A remote participant who cannot hear
Train substitute teachers and support staff as well as lead teachers.
Test With the People Who Use the Room
A complete commissioning process should include both objective measurements and feedback from users.
When appropriate, include:
- Teachers
- Students
- Special education staff
- Accessibility staff
- Audiologists or hearing-support professionals
- Facilities staff
- IT staff
Run activities that reflect a normal class:
- Direct instruction
- A quiet student question
- Group discussion
- Video playback
- A remote guest
- An emergency announcement
Record results by seat and listening method. Correct failures before accepting the room.
Manage Classroom Audio as Core Infrastructure
Keep an inventory of:
- Microphones
- Receivers
- Transmitters
- Audio processors
- Amplifiers
- Loudspeakers
- Batteries
- Software licenses
Assign clear owners for charging, cleaning, firmware updates, spare equipment, routine testing, and accommodation requests.
Track incidents by symptom and seat. “Audio issue” gives technicians little useful information. “Teacher microphone cuts out in the back-left seats” gives them a place to begin.
VIcom can help education teams assess classroom acoustics and teaching workflows, design room audio and assistive listening systems, commission equipment, train users, and support the technology throughout its service life.
The goal is clear, understandable instruction in every seat.
Use a Classroom Audio Acceptance Checklist
Before accepting a classroom, verify:
- Teacher speech from every student position
- Quiet student questions from representative seats
- Video and program audio
- Remote participant audio
- Microphone mute functions
- Microphone battery status
- Even loudspeaker coverage
- Assistive listening feeds and receivers
- Audio quality for automated captions
- The published backup process
Run these tests with the HVAC system operating normally and the doors in their expected positions.
Record equipment settings and measurement conditions. These records will help future technicians tell the difference between system drift and a design limit.
Save audio processor configurations and label parts that staff can replace in the field. Give students and faculty an accessible way to report problems without publicly disclosing an accommodation.
Review Problems for Patterns
Repeated requests to raise the volume may point to:
- A failing microphone
- Changed gain settings
- New background noise
- Poor loudspeaker coverage
- An unsuitable seating location
Find and correct the cause instead of treating maximum volume as the solution.
Schedule a brief audio check before each school year or term. A small amount of preventive work can keep students from spending months compensating for a classroom that no longer performs as designed.
Connect with VIcom by filling out the form below.